


Scald milk recipe that will show you how to scald milk, how long to scald milk, and what to use for. This is a simple recipe that is quite easy, quick straightforward, and when used in bakes like bread, and cakes make it lighter and fluffier.
Scalded milk can be made either on the stove or in the microwave. Both are easy methods but I personally prefer to do it on the stove as I can easily monitor it. I have detailed both methods in this post.
What is Scald Milk
Scald milk is dairy milk that is heated to a near boil and then cooled.
It is used in baking for bread, dinner rolls, cakes, and some other bakes to make it lighter and fluffier.
By scalding milk, bacteria, and enzymes are killed off. Although this is no longer a thing in regards to bacteria as milk is now pasteurized before being packaged for sale.
Milk is scalded when it reaches a temperature of 180F/83C.
Check out these other "How to" post: How to boil broccoli, how to boil chicken, how to boil carrots, how to mince meat.
Scalded Milk
This scald milk recipe is simple and straightforward. It's an easy and quick recipe that takes 5 minutes or less.
There are many reasons for making scalded milk. One is that it helps melt sugar, and butter used in some baking recipes which then makes the cakes or breads lighter and fluffier.
It prevents curdling when mixed with eggs for certain recipes like custard.
It is required in some other recipes like ice cream, custard pie, yoghurt and more which i have listed below.
Tools
Saucepan or pot- heavy bottom
Spoon- wooden (not metal)
Instant thermometer
Ingredients
You just need one ingredient which is the main ingredient. However, you can decide to add ingredients like vanilla extract to flavor the milk. Other flavoring options include strawberry and lemon.
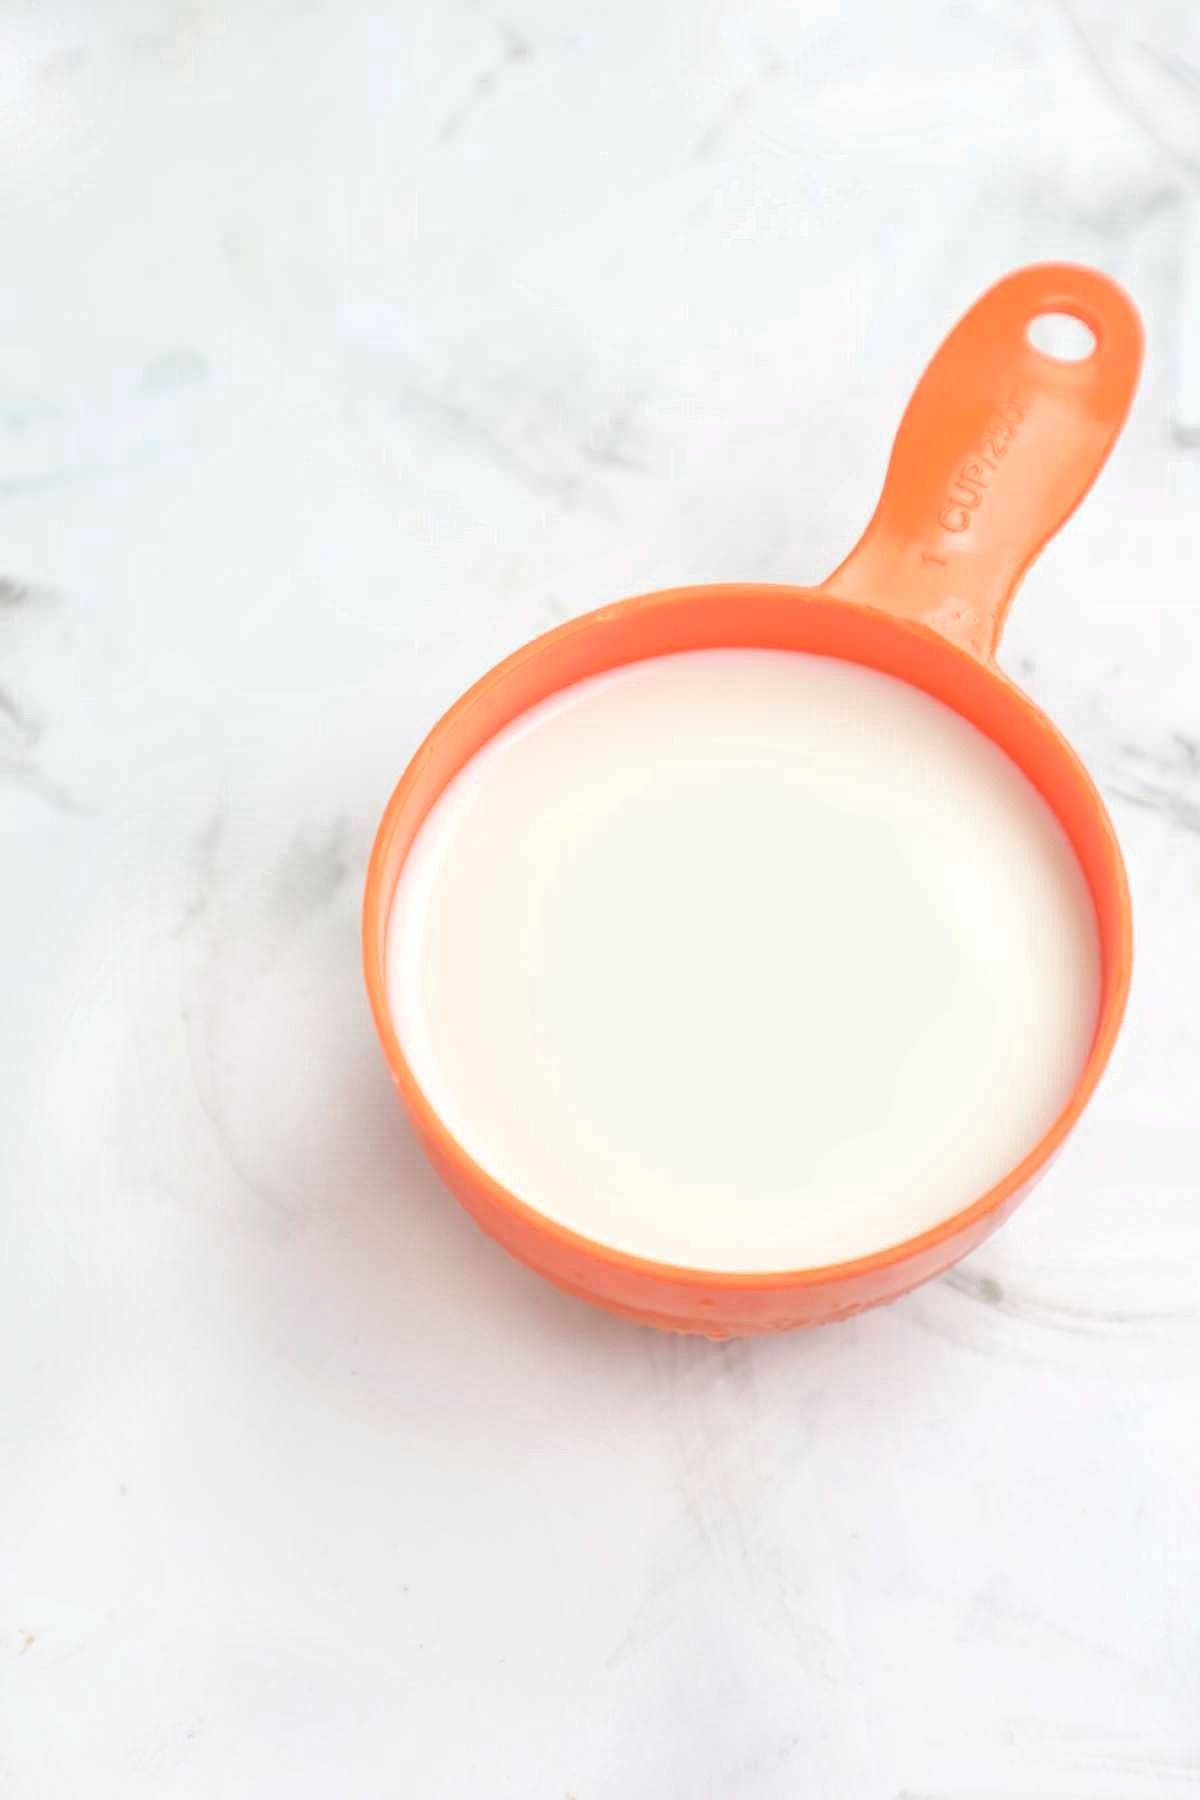
Milk - whole milk, semi-skimmed, or skimmed milk.
Don't use non dairy milk.
How to Scald Milk
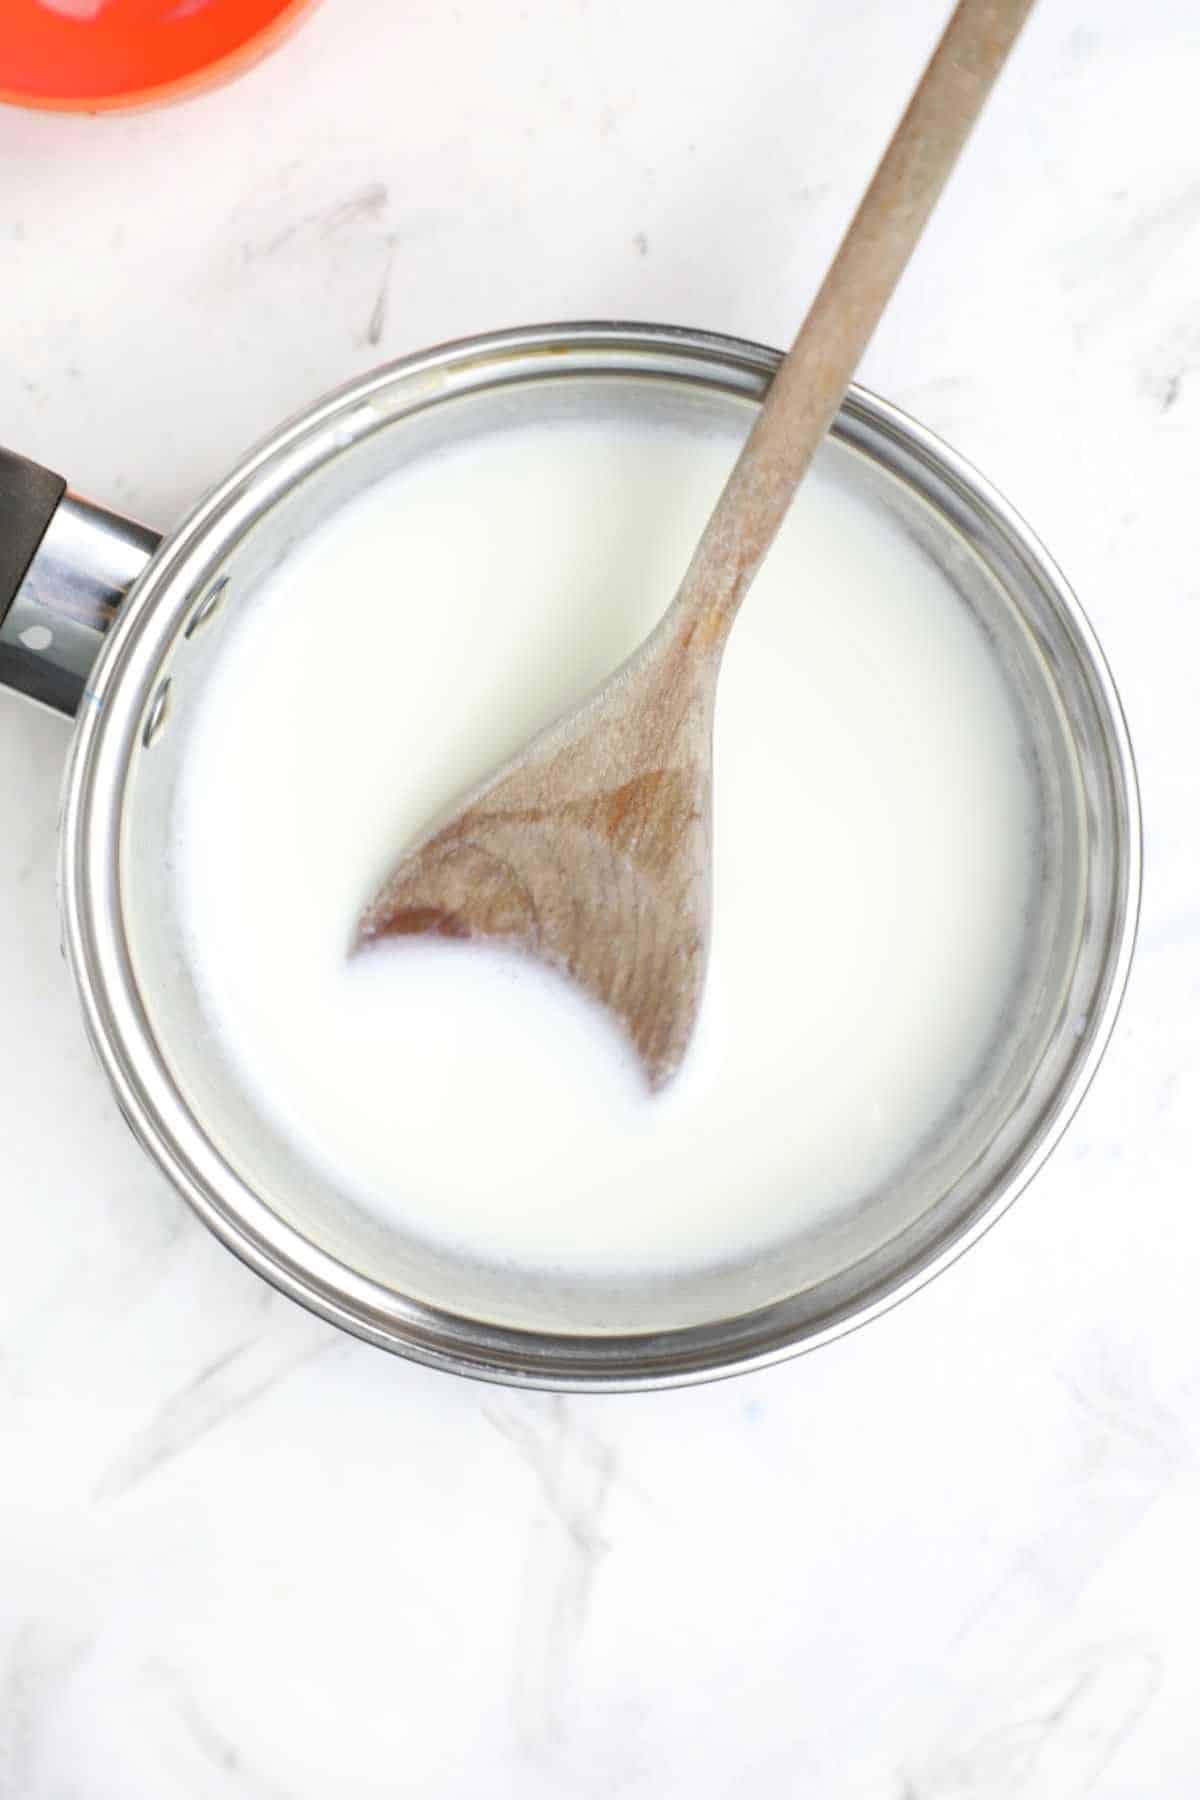
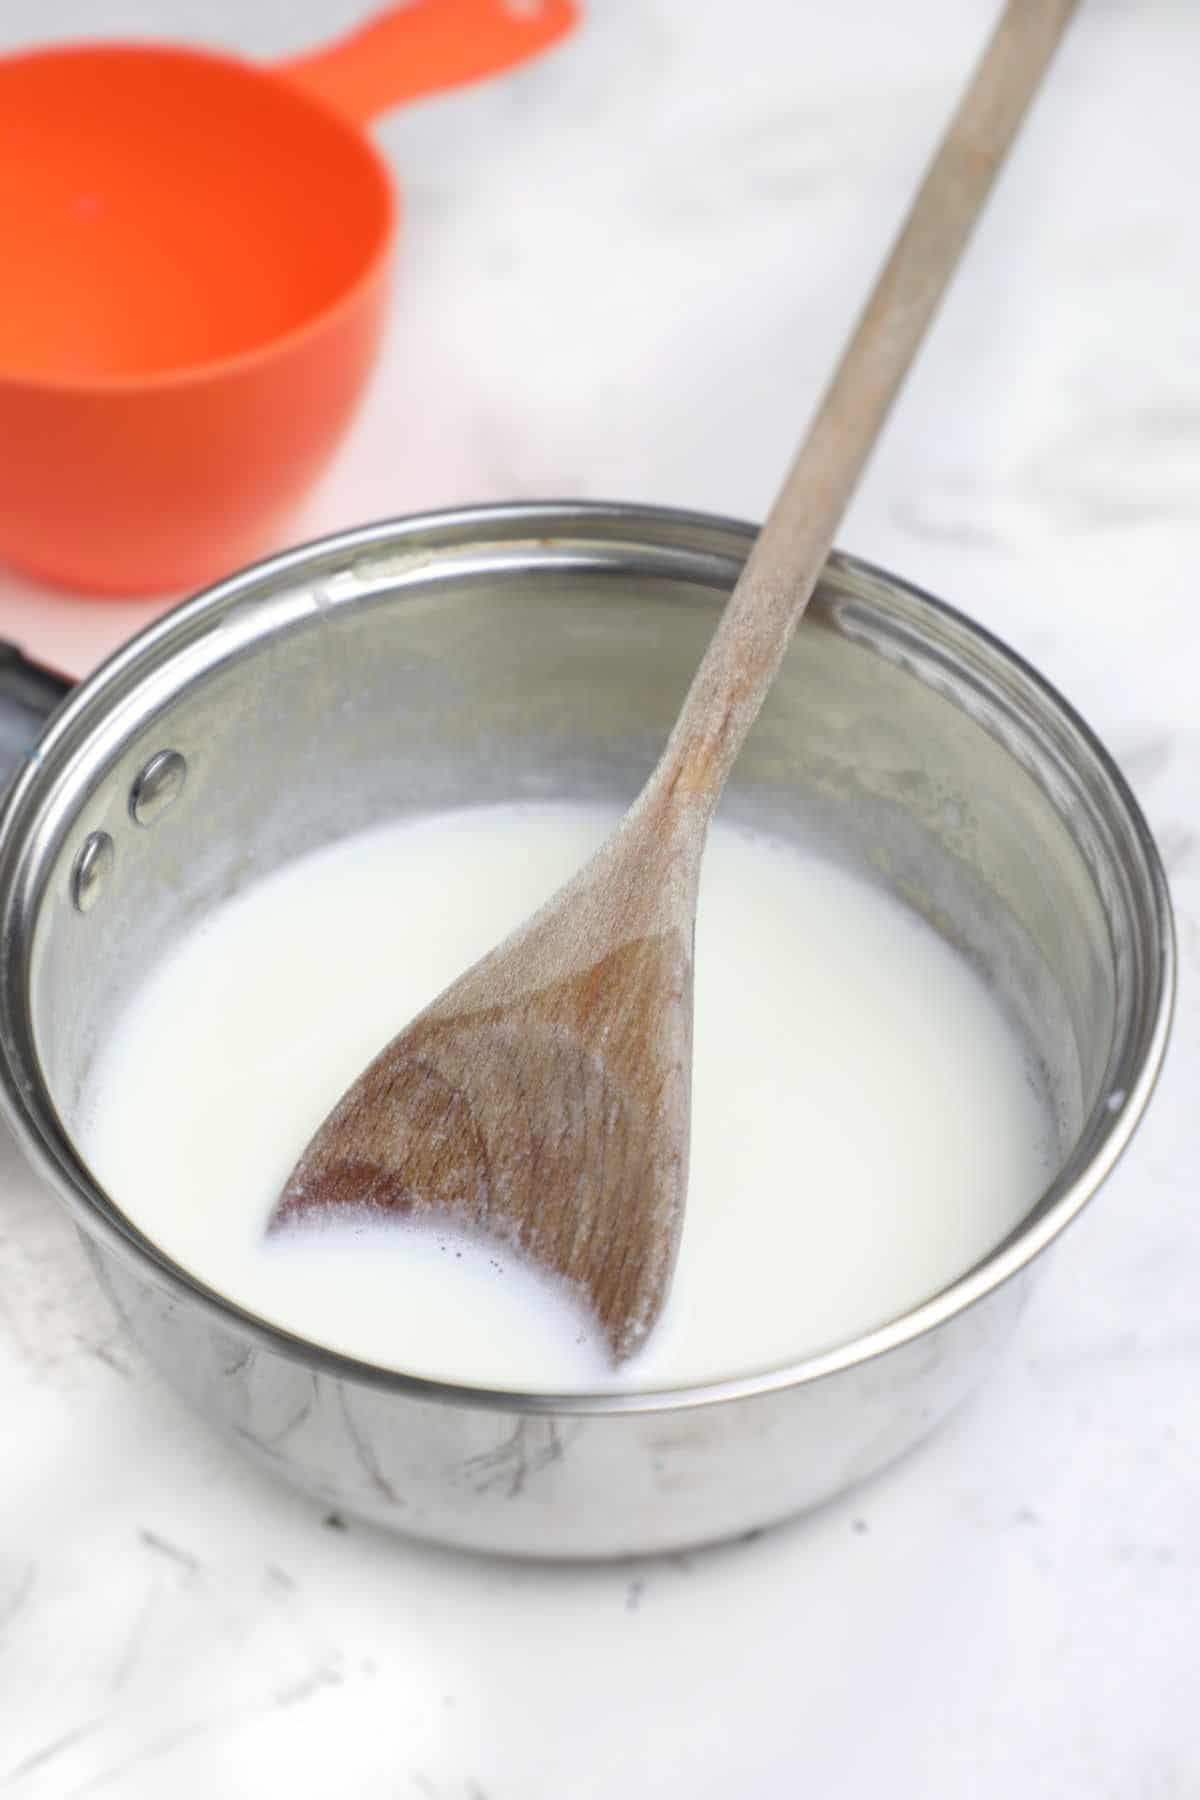
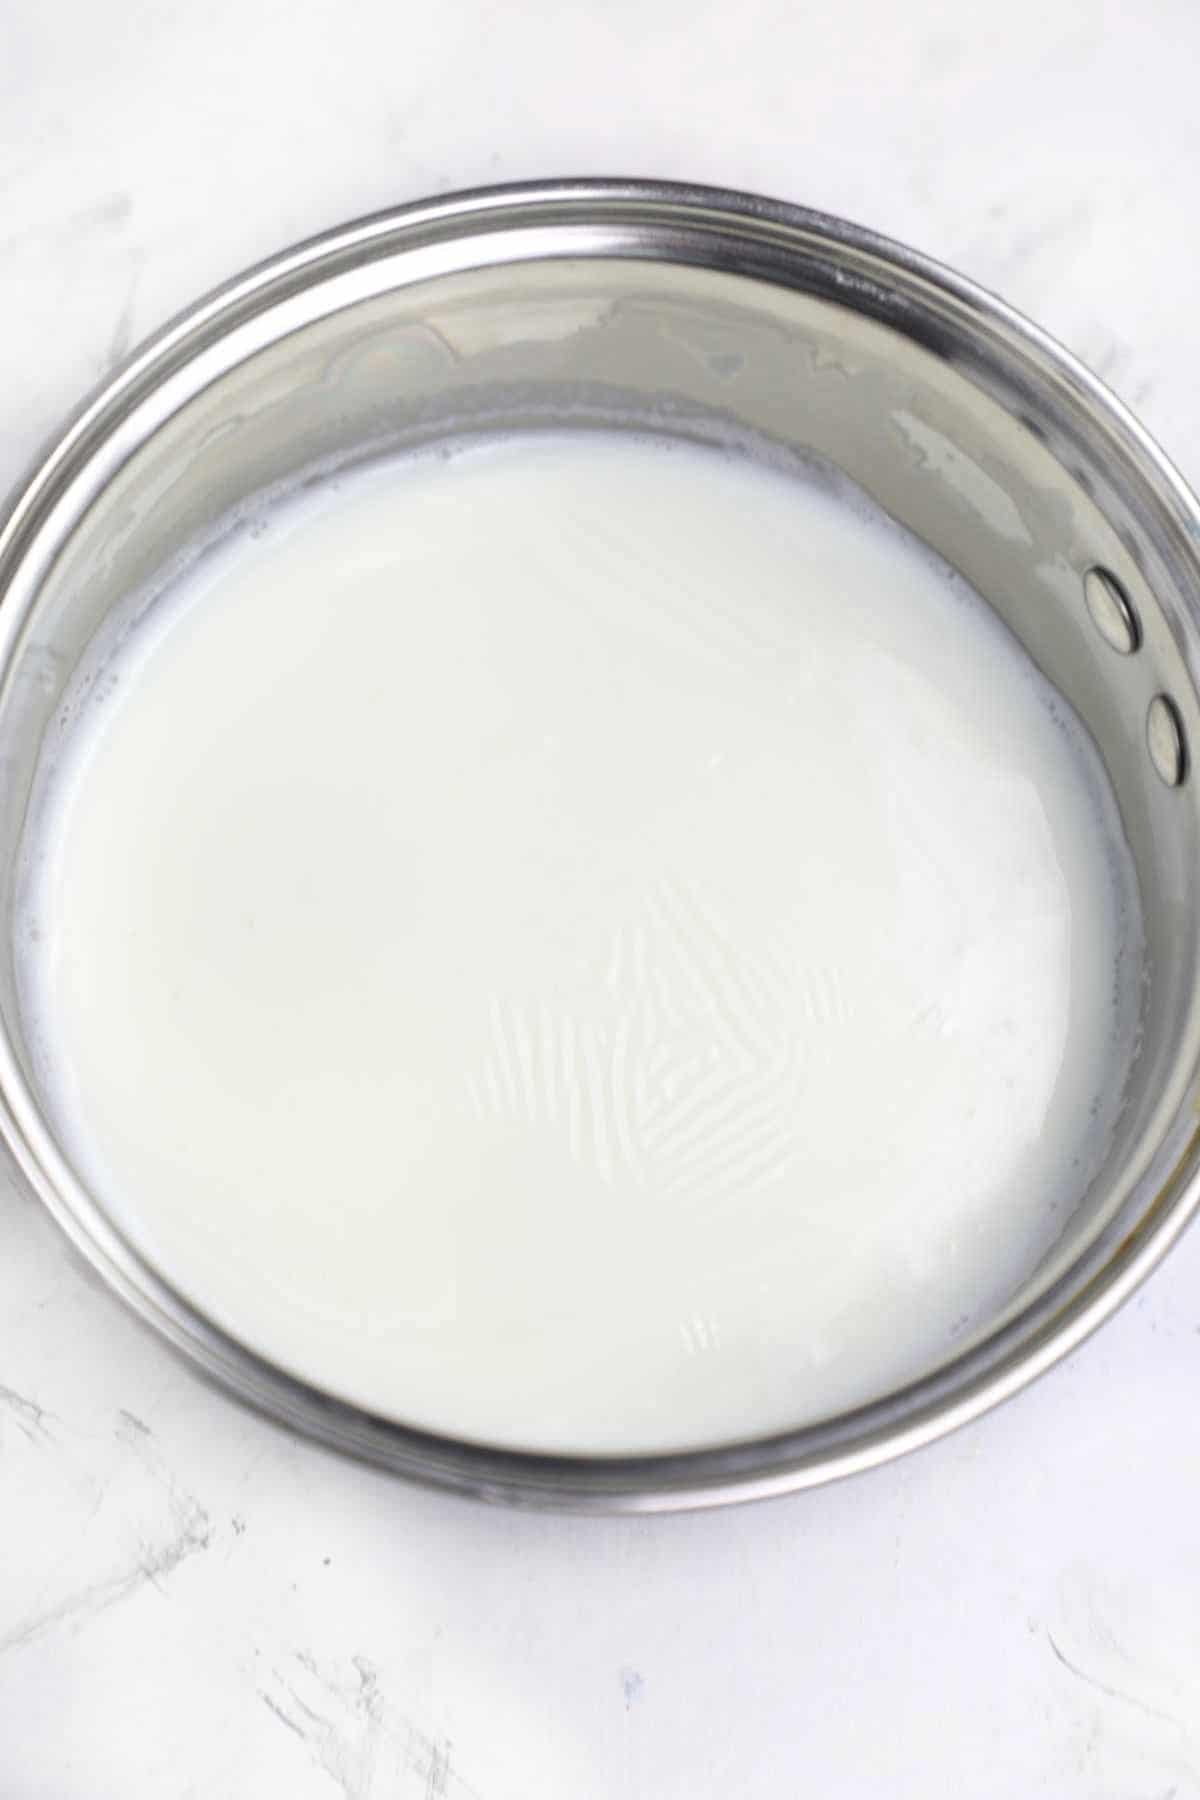
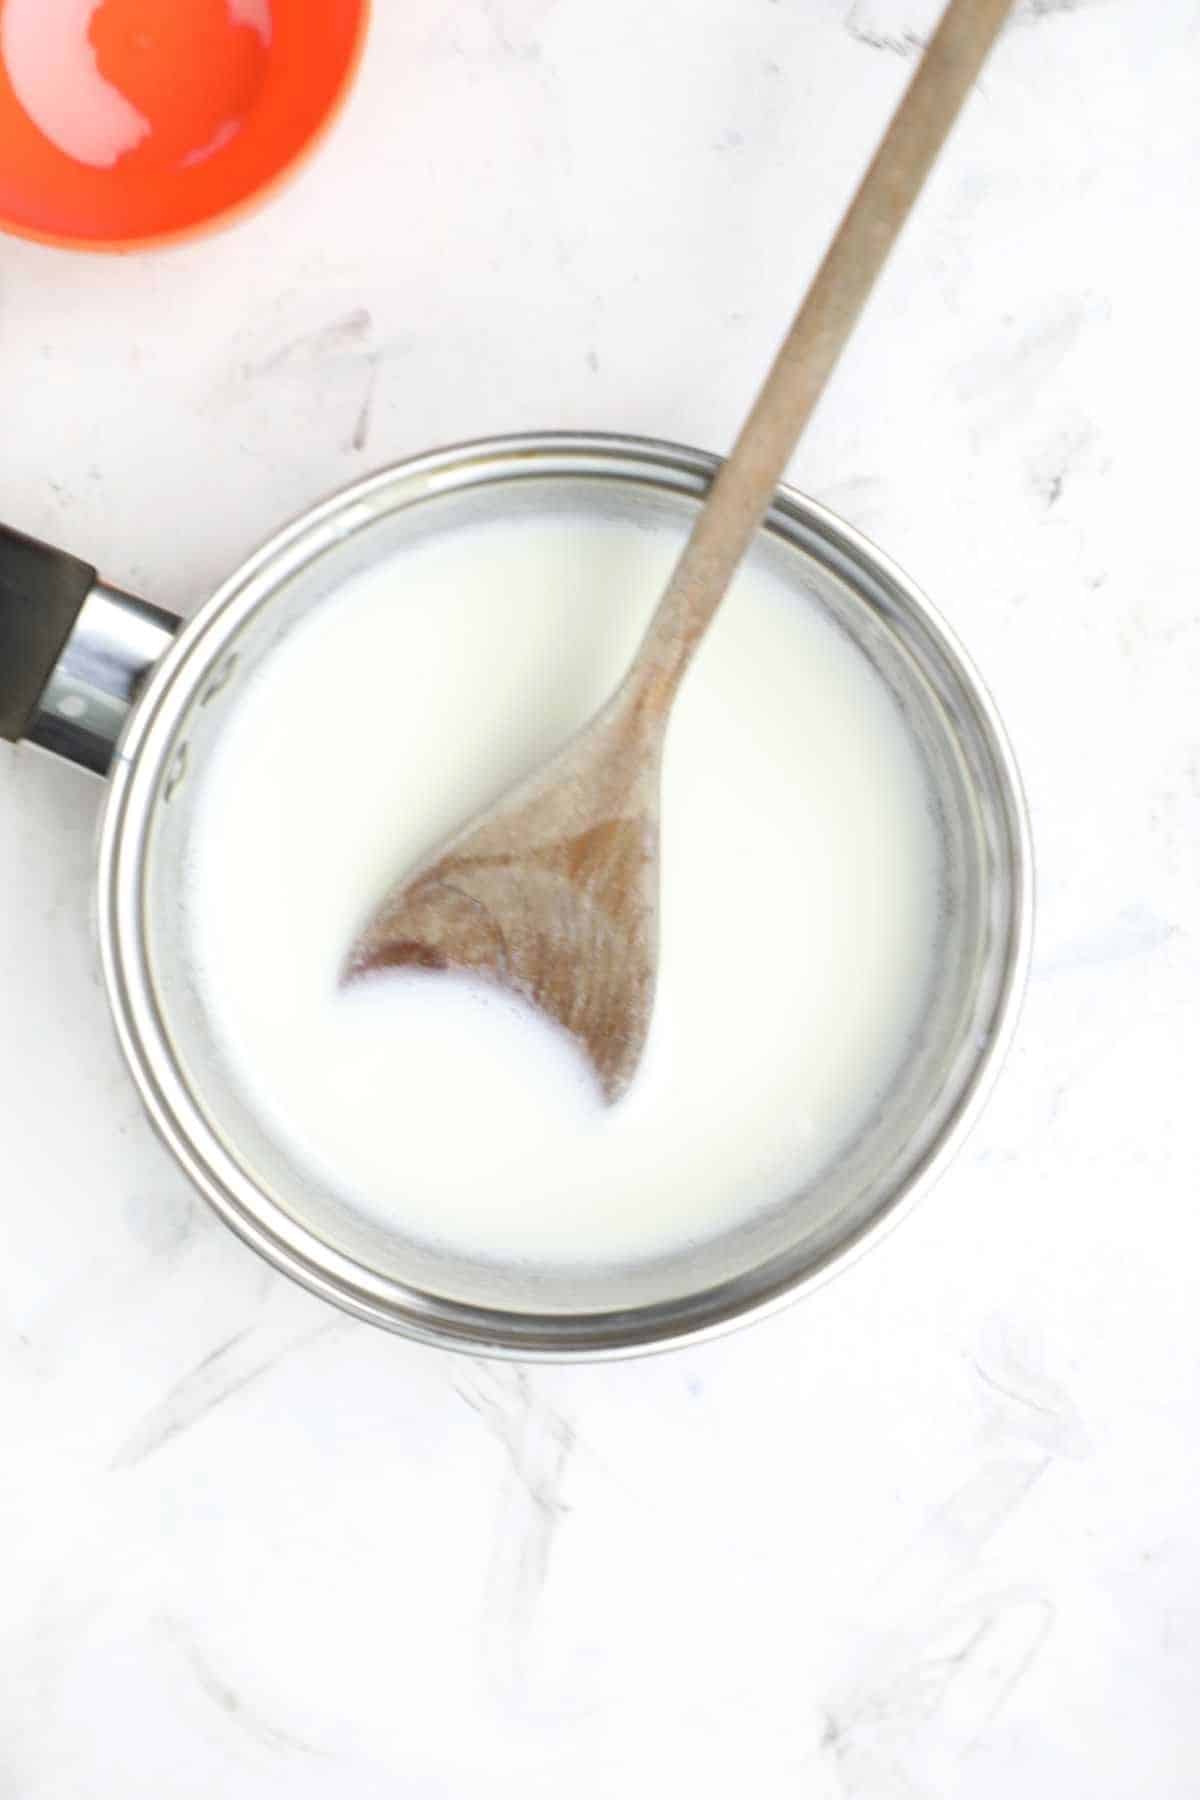
In a heavy bottom stainless steel pot or saucepan, add the milk and cook over medium heat till the milk is heated and bubbles around the edges.
Don’t bring the milk to a full boil, you only need it to be heated through and form a film on top. The film is the congealed protein forms.
Use an instant thermometer to check the temperature that it is 180F/83C.
Leave to cool to about 110F and it's ready for use.
It has to cool below 138F before using with yeast as a temperature of 138F kills off yeast.
How to Scald Milk in a Microwave
Although it's more difficult than doing it on the stovetop as you don't have eyes on the milk all the time it's in the microwave, it can be done in the microwave. Here's how to do it:
In a microwave-safe bowl, pour milk and put it in the microwave.
Set the microwave on medium heat for 30 seconds. If need be add additional time in 10 seconds while stirring it every 10 between each time.
Check with an instant thermometer that the temperature is 180F/83C.
Leave to cool to about 110F before using with yeast.
Recipes to Use In
Dinner rolls
Cakes
Breads
Bechamel sauce
Yoghurts
Baked milk
Ice cream
Coffee - Coffee recipes like cafe au lait use this.
Tips and Frequently Asked Questions
- Don't use dairy-free milk it won't work.
- Use a deep pot or microwave safe bowl that is bigger than you think you need just in case it accidentally bubbles over.
- Milk is scalded when it reaches a temperature of 180F.
- Cool the milk before using it in your bakes as the yeast will die at a temperature of 138F and prevent your dough from rising.
- You can flavor the milk with vanilla, lemon zest, nutmeg, cinnamon, and any flavoring, herbs, or spices of your choice.
- Stir the milk continuously to prevent it from burning, thickened or sticking to the bottom of the saucepan.
- Don't leave the milk on the stove without monitoring it. Stay till it's done as it can quickly boil over or burn.
- Stir frequently. Use a wooden spoon to stir and not metal as metal can mess with the temperature.
- Be careful and avoid getting burnt especially when bringing out of the microwave.
- As some milk will be evaporated during the process, add a bit more (i suggest ¼ cup for every 1 cup) than you need so when it's done, you have enough to use.
- Let it cool down before you measure out how much you require to use in recipes.
Can you scald almond milk?
No you can't. It doesn't contain protein that whole milk does. You can warm or boil almond milk but not scald.
Can you use skimmed milk?
Yes you can scald skimmed or semi skilled milk.
Baking Recipes You'll Love
I hope you like this recipe. If you find this post helpful, rate it 5 stars and leave me a comment below. I love reading from you.
Don’t want to miss a thing? Subscribe to the blog for free weekly recipes in your email. Also, follow recipe vibes on Instagram and Pinterest. Subscribe to my Youtube channel for recipe videos.
Recipe
How to Scald Milk -Scalded Milk
Equipment
- Saucepan
- Wooden spoon
- Instant thermometer
Ingredients
- 1 cup Milk whole milk
- Flavor like vanilla optional
Instructions
- In a heavy bottom stainless steel pot or saucepan, add the milk and cook over medium heat till the milk is heated and bubbles around the edges. Don’t bring the milk to a full boil, you only need it to be heated through and form a film on top. The film is the congealed protein forms .
- Use an instant thermometer to check the temperature that it is 180F/83C. Leave to cool to about 110F and it's ready for use. It has to cool below 138F before using with yeast as a temperature of 138F kills off yeast.
Notes
- Don't use dairy-free milk it won't work.
- Use a deep pot or microwave-safe bowl that is bigger than you think you need just in case it accidentally bubbles over.
- Milk is scalded when it reaches a temperature of 180F.
- Cool the milk before using it in your bakes as the yeast will die at a temperature of 138F and prevent your dough from rising.
- You can flavor the milk with vanilla, lemon zest, nutmeg, cinnamon, and any flavoring, herbs, or spices of your choice.
- Stir the milk continuously to prevent it from burning, thickened or sticking to the bottom of the saucepan.
- Don't leave the milk on the stove. Wait till it's done as it can quickly boil over or burn.
- Stir frequently. Use a wooden spoon to stir and not metal as metal can mess with the temperature.
- Be careful and avoid getting burnt especially when bringing out of the microwave.
- As some milk will be evaporated during the process, add a bit more (i suggest ¼ cup for every 1 cup) than you need so when it's done, you have enough to use.
- Let it cool down before you measure out how much you require to use in recipes.


Leave a Reply